Creating a post
- After you have signed in, go to Add New a Post
- Create a title for the post and then enter the content
- Select the format of the post
- If you wish, categorize the post into an existing category or create a new category
- Add tags to the post so that users can search for it using keywords
- You can preview what the post will look like by clicking the Preview button on the right hand side of the screen
- When the post is complete, click publish and the post will show up on the home page
Creating a page
- After you have signed in, go to Add New a Post
- Create a title for the post and then enter the content
- If this is a sub-page of another page, select the appropriate parent page from the drop down menu on the right
- You can preview what the page will look like by clicking the Preview button on the right hand side of the screen
- When the page is complete, click publish and the page will show up on the main navigation pane
Adding links to posts or pages
- Start by adding content to your post or page.
- Highlight the text or picture you want to use as the link, and click on the chain link icon in the editor.
- To link to an outside website, enter the URL address for the site and then click Add Link at the bottom of the window
- To link to an existing post or page within your blog, click the drop-down arrow that says “Or link to existing content”. Select the post or page you want to link to and click Add Link at the bottom of the window
 Inserting a table into a post or page
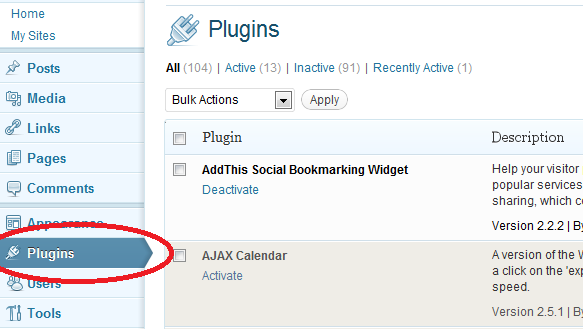
- Activate the TinyMCE Advanced plugin (See the Plugins and Widgets page for instructions on installing plugins)
- Click on settings in the Left Hand menu and then select TinyMCE Advanced
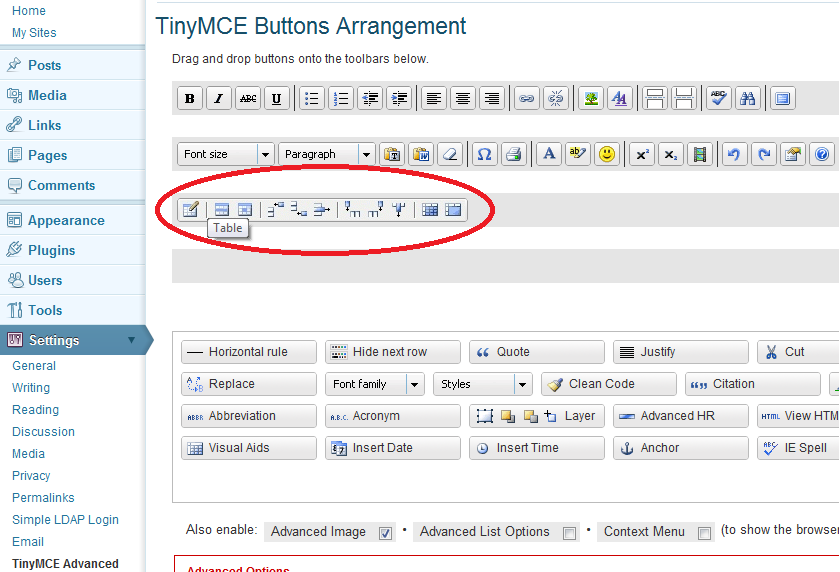
- Drag the table toolbar to one of the empty gray lines.
- Create or edit a post or page.
- Click on the insert table button and format the table as you want it.
Creating a PDF of all your Posts and/or Pages
- Activate the Anthologize Plugin (See the Plugins and Widgets page for instructions on installing plugins)
 Click on Anthologize in the Left Hand menu
- Add a New Project and give it a Title
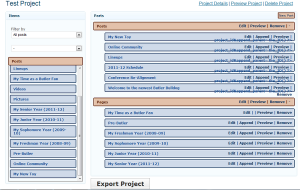
- Hover over the Project and then click on Manage Parts
- Click New Part and then select the posts and/or pages you want to add and then select Export.
- You can organize your content in different parts if you wish to divide it up. For example, you can create a different Part to differentiate between Posts and Pages.
- Select the project you want and fill in any appropriate data.
- Fill in the fields you want to and then select the file type for the export.
- Select the final formatting options and then hit Export.
- The file will then be created and downloaded through your browser.
- The link will take you to a video cast that displays the steps described above.
- Use Cases:
- Bringing together class blogs from a course
- Collecting individual student’s blog posts as a ‘takeway’ for students
- As an assignment or class project, having students search and compile posts on a topic
- For organizations, an easy way to compile news and updates from the year as a document for use in applying for, or continuing, grant funding
- Using WordPress as a drafting space, then compiling the results as a TEI document for forther markup and processing (Your WordPress postings do not have to be publically posted: you can build Anthologize documents from drafts)
- Teaching students the importance of creating their materials digitally, especially using standards like TEI. Digital, done right, means multiple opportunities for repurposing.
- Pulling together blog postings for a quick ebook that can be downloaded to your ereader device for offline reading. Building course packs or readers of relevant articles
- Building a CV or portfolio of your own work, or teaching your students to do the same for their own eportfolios