 The Panopto editor allows for easy web based editing from any modern browser. You can perform quick, non-destructive edits to any video on the Panopto platform and deliver exactly the content you choose to viewers.
Downloadable Editing User Guide
Basic Editing
Log in and click on the Edit icon on the session you want to change


This will open up a new tab in your browser for the Panopto editor
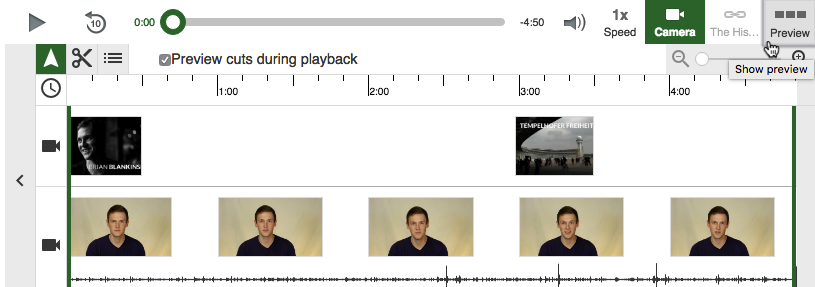
To edit your video use the editing timeline visible in the bottom right hand section of the screen.
This timeline represents the entire length of your video showing each stream of content that makes up your session. The left side of the timeline is the start of your video, the right hand side is the end of the video.

Expand the timeline by selecting the arrow to show more detail

The edit tools are Pointer, Cut, and Table of Contents. To begin editing, select the ‘Cut’ tool.
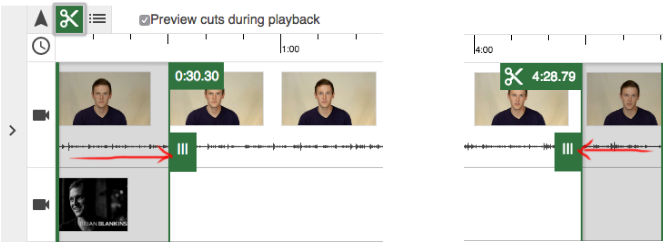
To edit out the start of the video, click and drag the edit handle from the left to the right
To edit out the end of the video, click and drag the edit handle from the right to the left
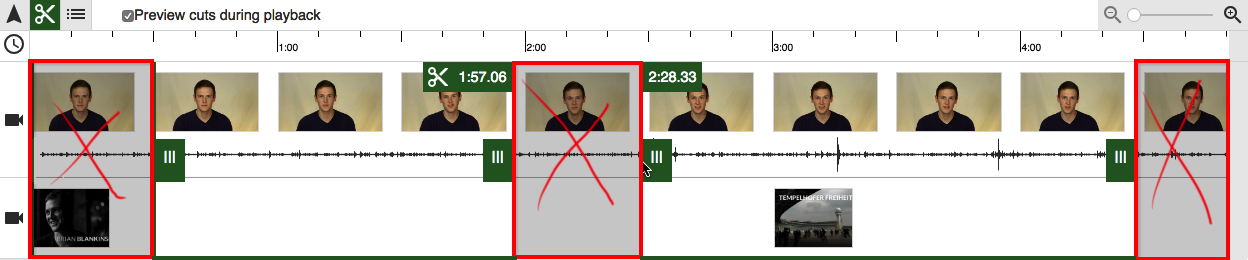
To cut a section from the middle of video, position the cursor over the point you would like to start the edit, click and drag to the right and then let go at the point you want the cut to finish. This will remove the area highlighted from the video, and add a new handle at each edit point to allow you to finely trim your cut.

The red crosses below highlight the areas that will not be shown to viewers. Editing in Panopto is non-destructive, so you can add this content back in later if you need to.
When you have completed your editing, select the ‘Publish’ option in the top right of the screen
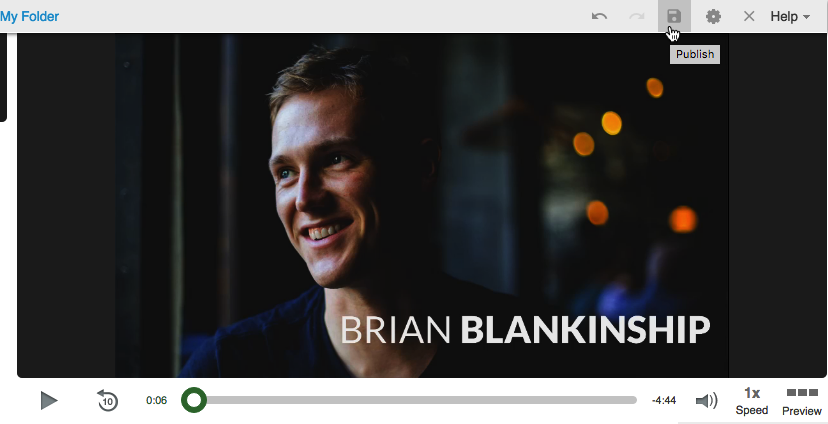

The session will now re-process to include the changes you have made
Auto-Save and Undo
If a session has unpublished changes made by another user and you try to edit the session, you will receive the following warning –
You can choose to take over the edits already made by the other user, or discard those edits and start fresh. To ensure all edits are made visible to viewers, be sure to choose ‘Publish’ when you are done.
Other Features
Edit Stream Names
To change the names of streams as they appear to the end user to provide more content, you can choose the ‘Streams’ tab in the top left of the editor, then click the ‘Edit’ icon
This will open the ‘Edit Stream’ page allowing you to change the default name of the Stream
You can do this for each stream in the session
Edit Description
Table of Contents
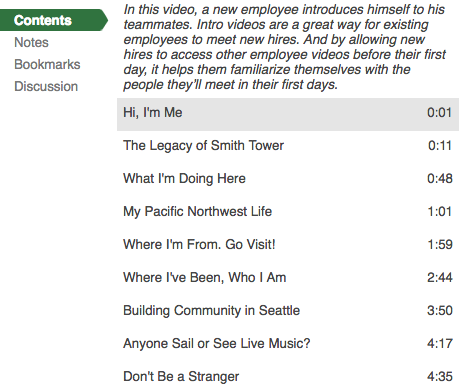
In the viewer the table of contents (TOC) provides an easy method to navigate the recording, as well as further context be that a written step by step guide in a ’how to’ video or a direct web link. The TOC is automatically generated if a session is recorded with a PowerPoint or Keynote, but can be added manually, or edited to provide the viewer with more information.
Add a table of contents entry
To add a new table of contents entry, select the TOC tool from the top left of the edit timeline

This will enable the TOC picker. If you need to preview, you can use the pointer tool to find the exact spot you want to highlight. With the TOC picker you can choose the exact point of an individual stream allowing you to add a title, metadata, set the default thumbnail or add a web link. Please note you can only set a table of contents entry for a video stream, not a slide stream or PDF.

Change Table of Contents entry
To edit or delete a pre existing Table of Contents entry, move the cursor over the entry you wish to change and click in the edit icon directly in the TOC.
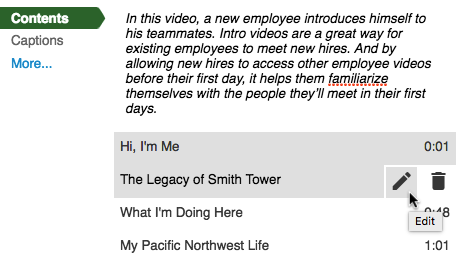
You can also edit or from a thumbnail directly – place your cursor over the thumbnail you wish to edit and click on the edit icon

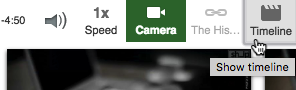
If you can’t see the tumbnails it’s because you have limited desktop space – you can bring them up on smaller screens by choosing the ‘Preview’ option to the right of the edit timeline.
You can switch back to the main timeline view at any time
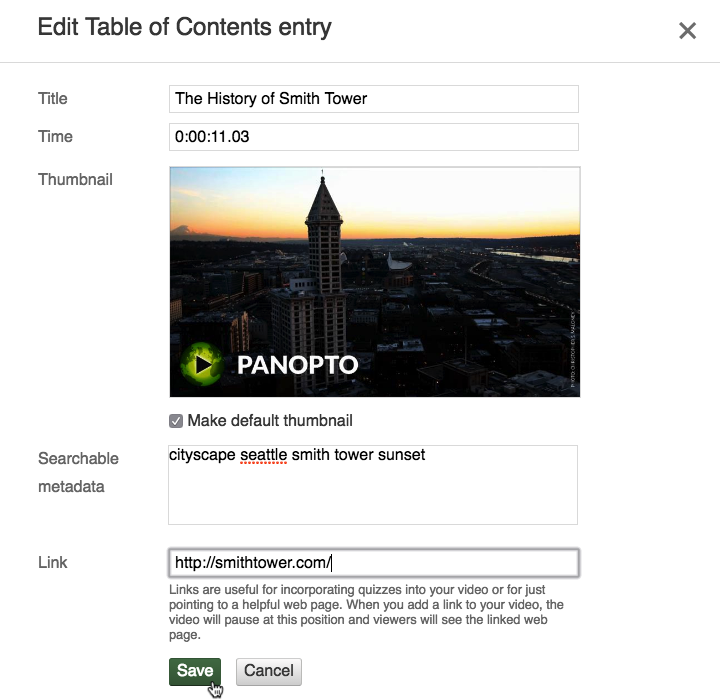
Either of the options above will open up the edit window
From this window you can edit the title, the time of the entry, make this image the default thumbnail, add meta data and enter a web link.
Change session title
You can change the title of a session by clicking on the current title directly, and typing in a new title direct in the editor