
The advanced Panopto editor allows you to add streams, splice, add and replace slides, save as and edit legacy WMV content
Downloadable Editing User Guide
Advanced Editor usage
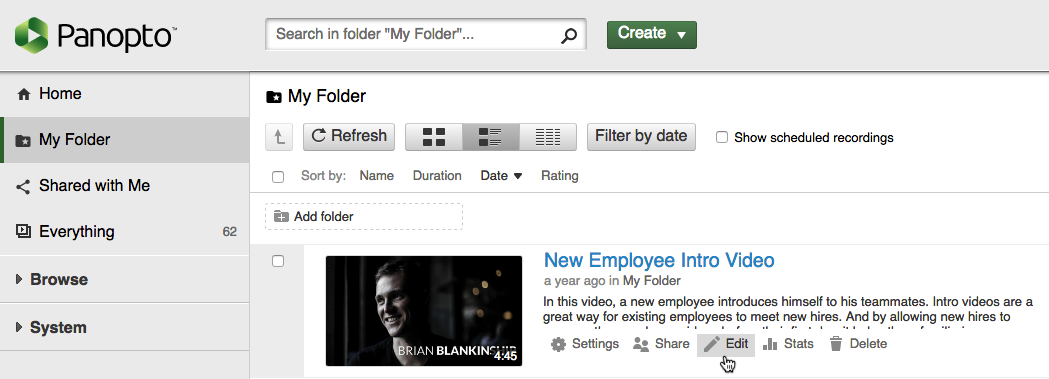
Log in and click the edit icon

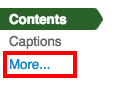
Select the ‘More’ option on the left side of the screen
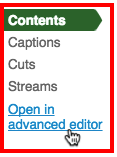
Select ‘Open in advanced editor’
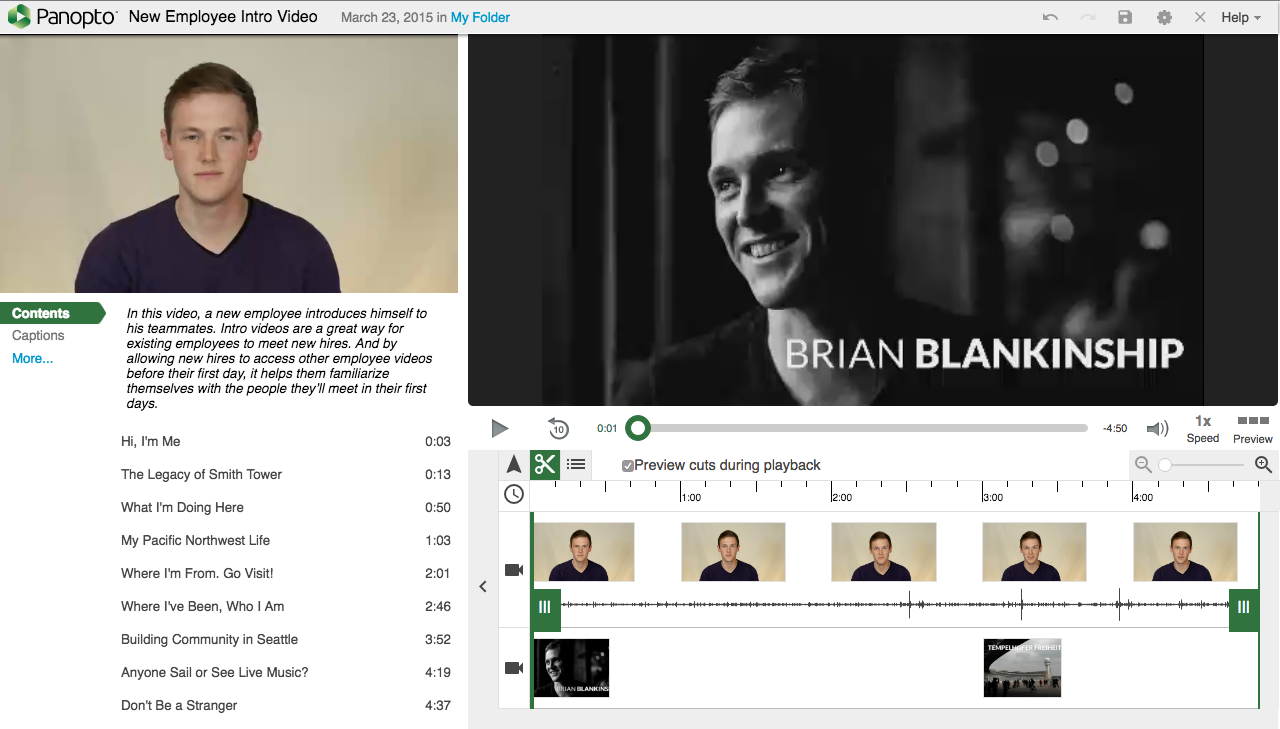
This will open the advanced editor – please note that to take advantage of the extra features in the advanced editor you will need to have the Silverlight browser plugin installed. This is supported in Firefox, Safari and Internet Explorer.
Features
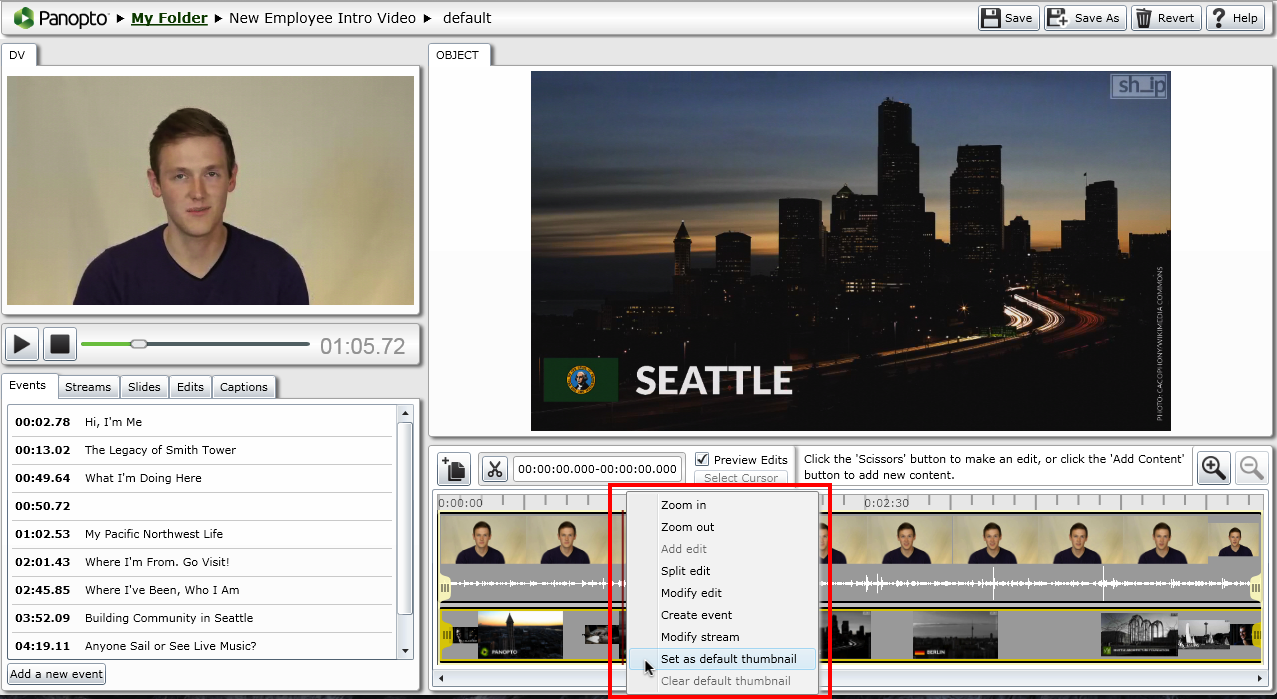
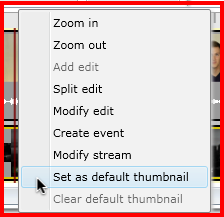
Set default thumbnail
To set the thumbnail shown in the Panopto video management system, right click on the edit timeline and select ‘Set default thumbnail’
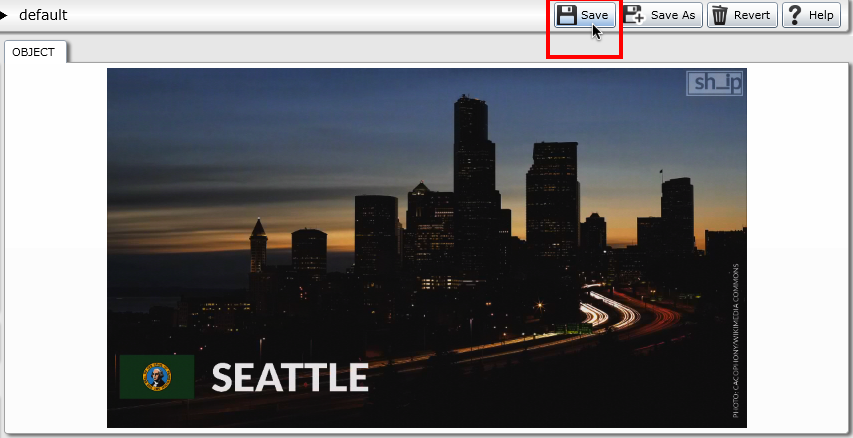
Select ‘Save’ in the top right of the screen

Modify the start time of a stream
Select ‘Streams’ then ‘Edit’

Change the start time as desired and click ‘OK’

‘Save as’ a new version
Select the ‘Save As’ option in the top right of the screen

Name the newly created version and click ok
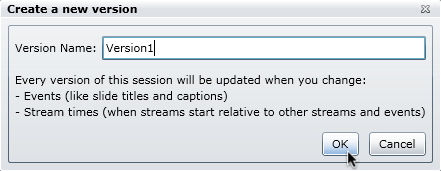
You can now make changes to the new delivery version

Insert and Edit Captions
You can manually add captions to your video in the advanced editor.
Select the captions tab towards the bottom right of the screen
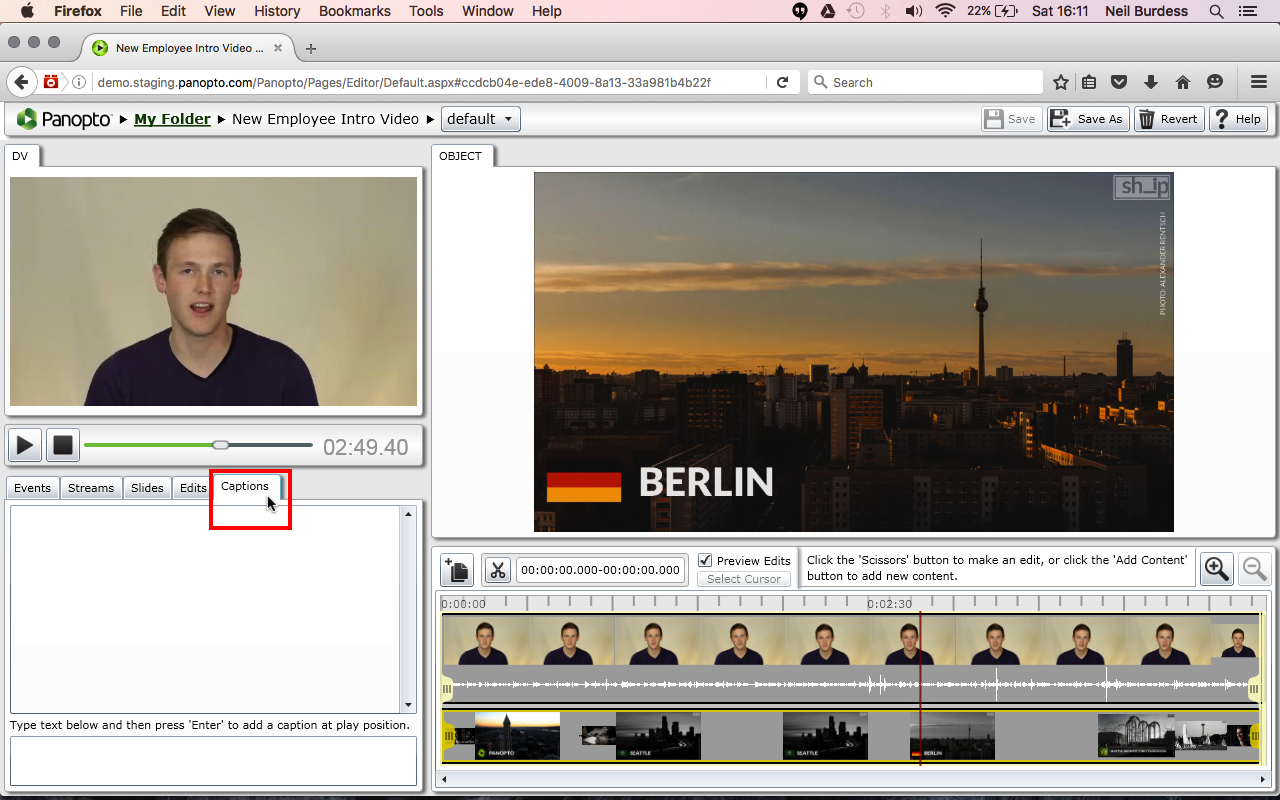

Enter text to match up the dialogue in the audio track
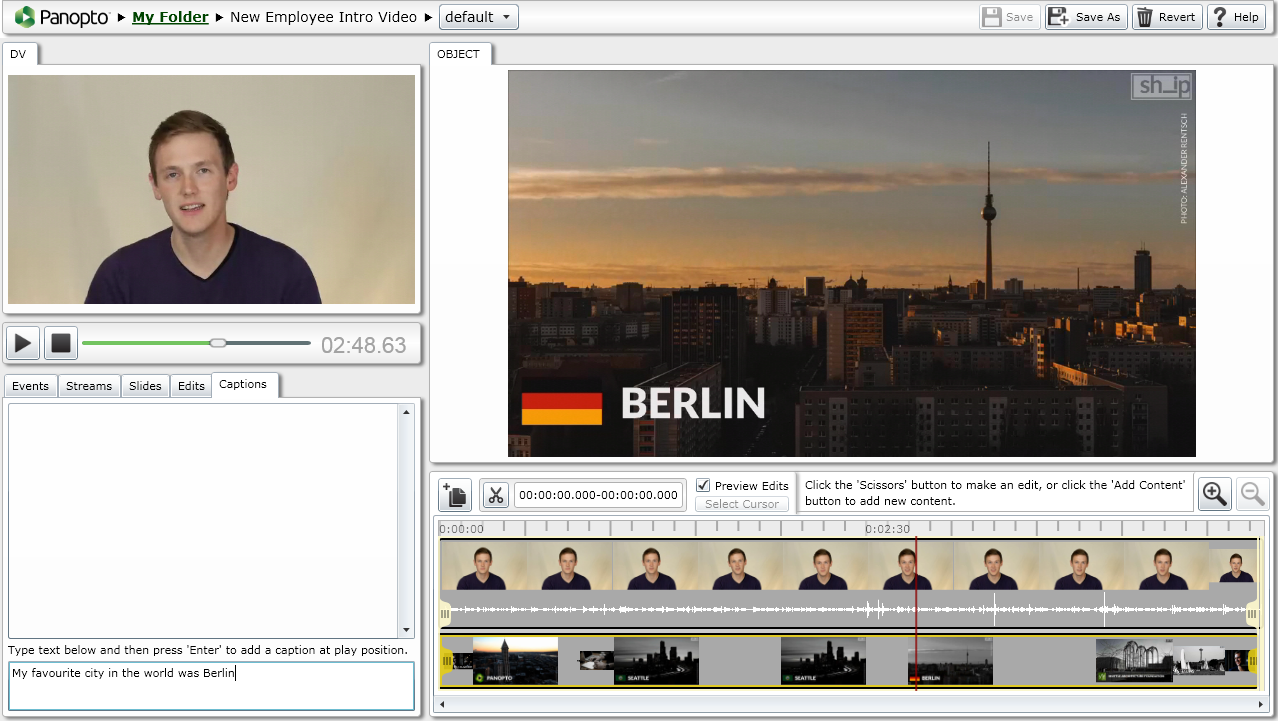

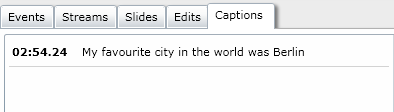
Press ‘Enter’ to add the caption at the desired time
Please note – you can also use third-party services to add captions for you, and upload already created transcripts direct to the session.
Other Features
Return the video to 00:00.00
Click the stop button to return the video to zero seconds

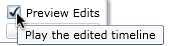
Preview Edits
If checked, only the segments of video that are being kept will play
Zoom into the timeline
The feature allows you to ‘zoom in’ to the timeline to achieve fine control over edits

Revert
Click ‘Revert’ to undo all previously unsaved changes

Add or replace a slide
You can delete or add a presentation slide in the Panopto Advanced editor.
Click on the ‘slides’ area in the in the editor
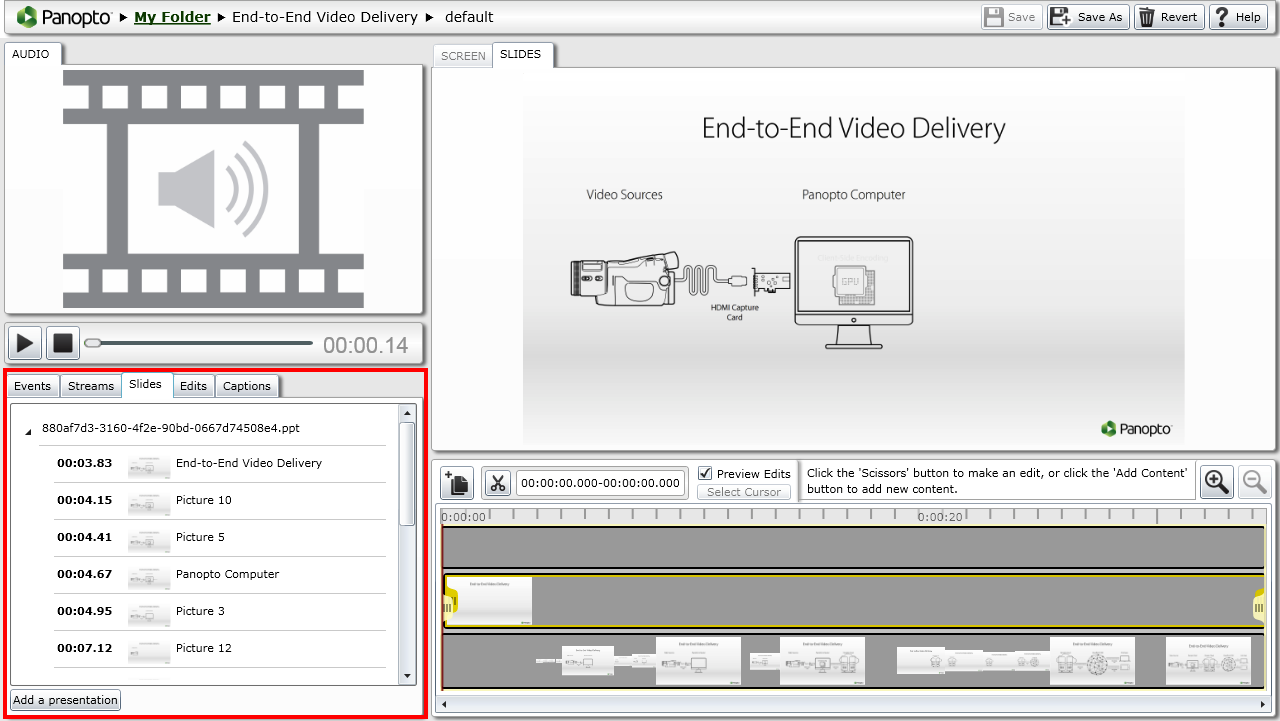
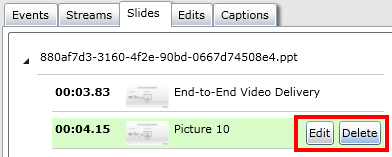
You can edit or delete a slide by placing your cursor on the slide you wish to change
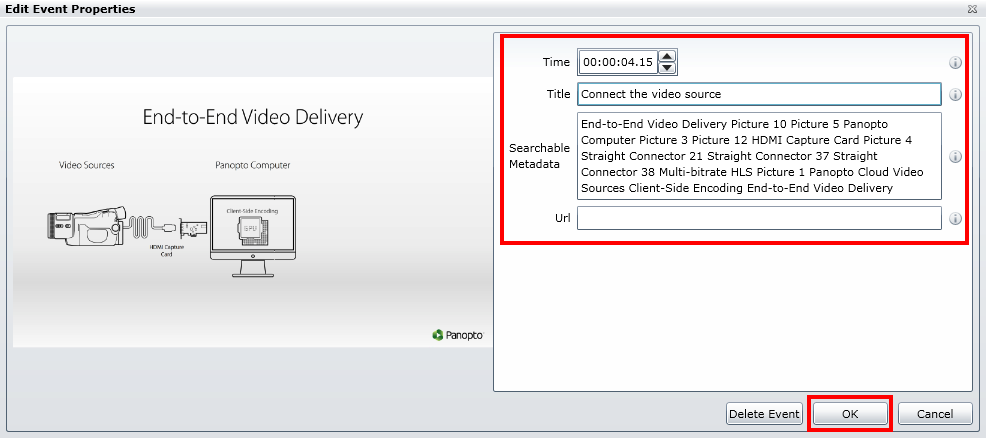
If you choose to edit, you can change the table of contents title, the time the slide appears, add or remove metadata or embed a web page link. You can also delete the slide from here.
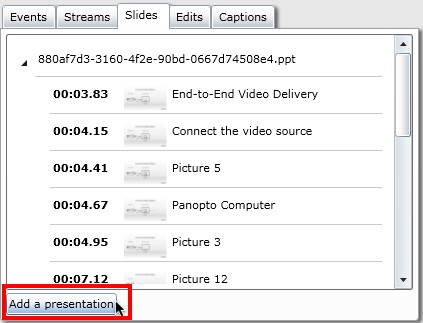
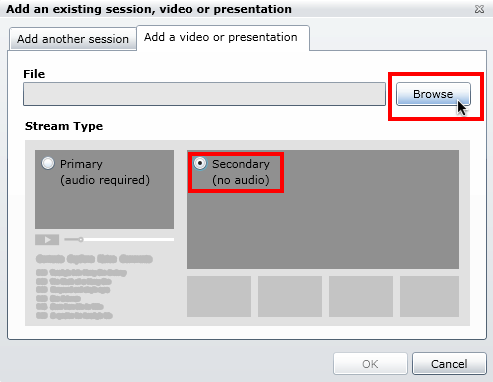
To add a new slide or deck, choose ‘Add a presentation’
Select to add a ‘Secondary (no audio)’ source, then ‘Browse’ to find the presentation deck on you computer. Click ‘OK’ and the presentation will upload
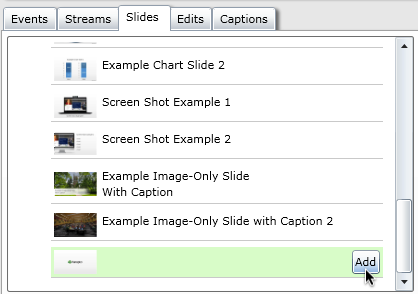
You can select the individual slide you want and select ‘Add’
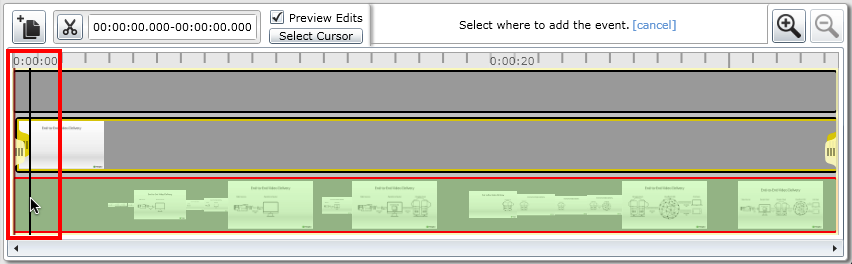
Click to add the slide at the desired location in the timeline
This will open the Event Properties box. Add extra data here if you want, or just click ‘OK’ to add the slide
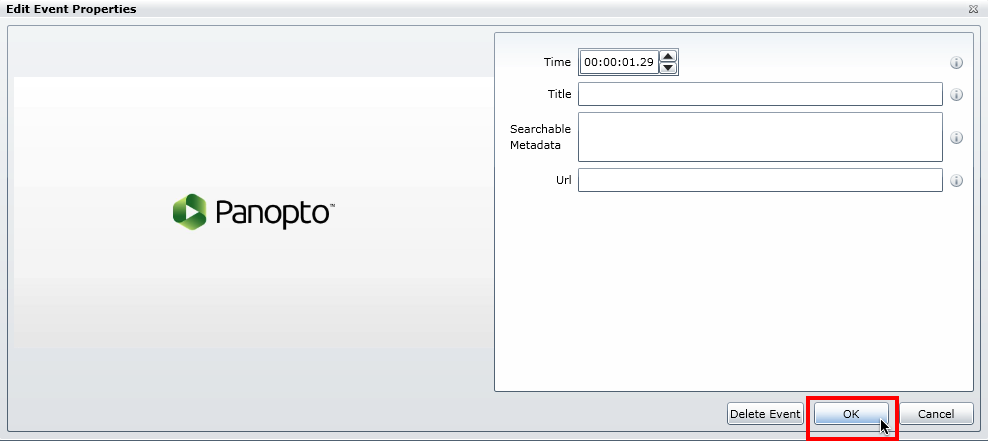
The slide will be added, click save to complete the change


.jpg)
