- Go to Moodle Course you want to set up the meeting in.
Click on .
. - Go to the block that you want to add the meeting to. (You can add more than one meeting to your course.)
- Click on Add an Activity and select Adobe Connect.
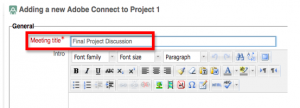
- Enter the name of the meeting. This is what will be displayed in your Moodle course for students to click on to enter the meeting room. Leave the Intro information blank, it will not be displayed in Moodle.

- The Meeting URL is optional. If you leave this blank the system will generate a random URL for this meeting. Entering a custom URL is recommended for meeting rooms that will be used frequently or for long periods of time. A custom URL can be shared with people so they can enter the room directly, without going through Moodle. A custom URL must be unique so we recommend you use your course number and a name for the meeting. See the example below.
 6. Determine whether you want this meeting to be public or private by selecting the appropriate option from the pop up. A public meeting is one where anyone who has the URL for the meeting can enter the room. A private meeting is one where only registered users and participants can enter. The login page does not allow guests to log in.
7. Select a meeting template and the start and end time for the meeting. The start time must be after the current time.
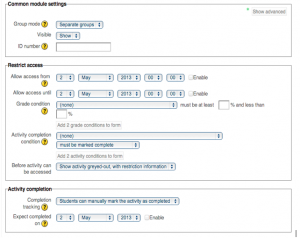
8. The rest of the settings are the common options for any activity in Moodle. Select any appropriate settings here and click on Save at the bottom of the screen.
9.Now you have an Adobe Connect meeting room set up in Moodle.
